Explanation of how PyCUDA compiles and executes CUDA kernels written in C from Python, with step-by-step examples.
How PyCUDA Reads and Runs C Kernels
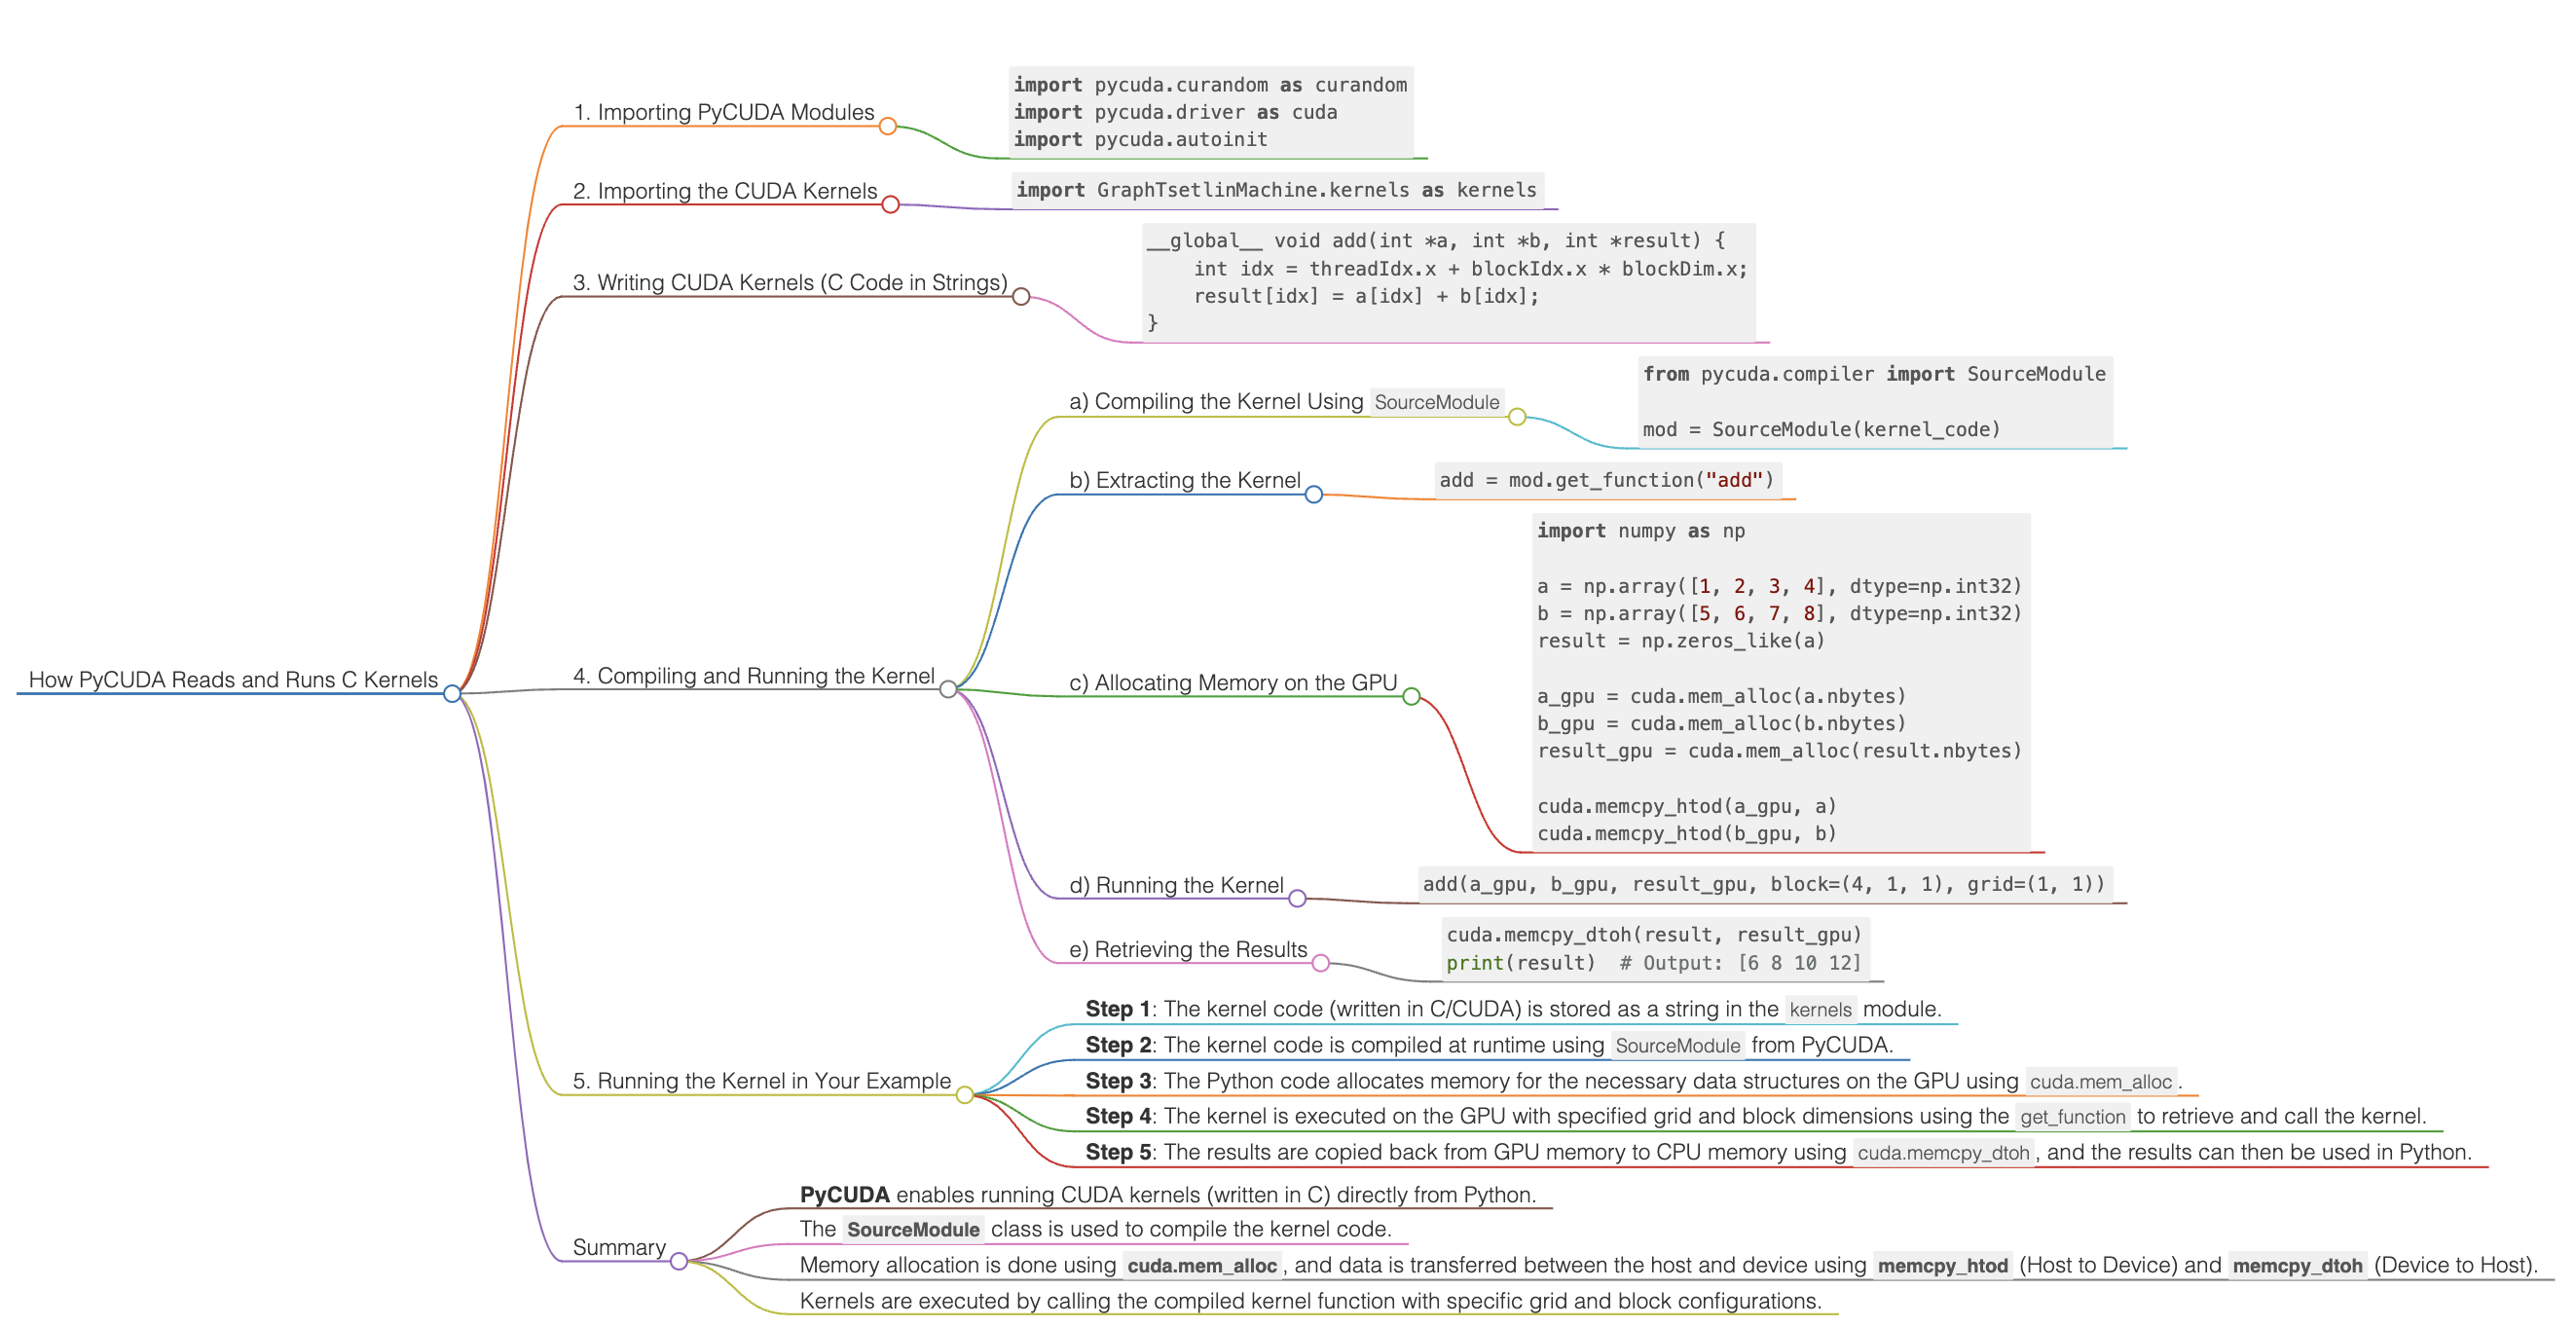
How PyCUDA Reads and Runs C Kernels
In PyCUDA, you can run CUDA kernels (which are typically written in C or C++) directly from Python. PyCUDA provides a way to write CUDA code as a string, compile it at runtime, and execute it on the GPU. Let's walk through the process step-by-step, explaining how PyCUDA interacts with a kernel written in C and runs it.
1. Importing PyCUDA Modules
The following lines import PyCUDA’s functionalities:
import pycuda.curandom as curandom
import pycuda.driver as cuda
import pycuda.autoinit
pycuda.driver as cuda: This module provides the basic interface to communicate with the CUDA driver, which manages GPU resources and executes code.pycuda.autoinit: This module automatically initializes CUDA when you import it, setting up the GPU and its context (the memory space for the program to run).pycuda.curandom: This module is used to generate random numbers on the GPU using CUDA’s random number generation capabilities.
2. Importing the CUDA Kernels
import GraphTsetlinMachine.kernels as kernels
- This imports a module named
kernelsfromGraphTsetlinMachine. Presumably, this module contains CUDA code (written in C) in the form of strings or functions that will later be compiled and executed using PyCUDA.
3. Writing CUDA Kernels (C Code in Strings)
In PyCUDA, CUDA kernels (written in C or C++) are typically embedded as string literals in Python code. Here is an example of what that might look like:
__global__ void add(int *a, int *b, int *result) {
    int idx = threadIdx.x + blockIdx.x * blockDim.x;
    result[idx] = a[idx] + b[idx];
}
This is a simple CUDA kernel written in C:
- __global__: This indicates that add is a CUDA kernel that can be called from the host (Python) and will run on the GPU.
- The kernel adds two arrays element-wise on the GPU.
4. Compiling and Running the Kernel
In PyCUDA, you compile and run this CUDA code from Python. Here’s how PyCUDA reads and executes the kernel:
a) Compiling the Kernel Using SourceModule
You use PyCUDA’s SourceModule class to compile the kernel code at runtime:
from pycuda.compiler import SourceModule

mod = SourceModule(kernel_code)
SourceModuletakes the kernel code as a string and compiles it into machine code that can be executed on the GPU.- At this point, the CUDA kernel is ready to be called from Python.
b) Extracting the Kernel
Once the kernel is compiled, you can extract it from the SourceModule object using its function name:
add = mod.get_function("add")
get_function("add"): This retrieves the compiled CUDA function (kernel) calledadd.
c) Allocating Memory on the GPU
Before running the kernel, you need to allocate memory on the GPU. This can be done using PyCUDA’s cuda.mem_alloc() function:
import numpy as np

a = np.array([1, 2, 3, 4], dtype=np.int32)
b = np.array([5, 6, 7, 8], dtype=np.int32)
result = np.zeros_like(a)

a_gpu = cuda.mem_alloc(a.nbytes)
b_gpu = cuda.mem_alloc(b.nbytes)
result_gpu = cuda.mem_alloc(result.nbytes)

cuda.memcpy_htod(a_gpu, a)
cuda.memcpy_htod(b_gpu, b)
cuda.mem_alloc(): Allocates GPU memory for the arrays.cuda.memcpy_htod(): Copies data from the host (CPU) to the device (GPU).
d) Running the Kernel
Now that the memory is allocated and the kernel is compiled, you can execute the kernel on the GPU:
add(a_gpu, b_gpu, result_gpu, block=(4, 1, 1), grid=(1, 1))
block=(4, 1, 1): Specifies that we want to launch 4 threads per block (1-dimensional thread block).grid=(1, 1): Specifies that we are using 1 block in the grid.
This launches the add kernel on the GPU, which performs element-wise addition of the arrays a and b and stores the result in result.
e) Retrieving the Results
Once the kernel has completed execution, the results can be copied back from GPU memory to the host:
cuda.memcpy_dtoh(result, result_gpu)
print(result)  # Output: [6 8 10 12]
cuda.memcpy_dtoh(): Copies the result from the device (GPU) back to the host (CPU).- Finally, the result is printed, showing the sum of the arrays.
5. Running the Kernel in Your Example
In your case, the code seems to be using kernels from the GraphTsetlinMachine.kernels module. These kernels are most likely stored as C code in string format within the module. Here's a simplified explanation of what happens:
- Step 1: The kernel code (written in C/CUDA) is stored as a string in the
kernelsmodule. - Step 2: The kernel code is compiled at runtime using
SourceModulefrom PyCUDA. - Step 3: The Python code allocates memory for the necessary data structures on the GPU using
cuda.mem_alloc. - Step 4: The kernel is executed on the GPU with specified grid and block dimensions using the
get_functionto retrieve and call the kernel. - Step 5: The results are copied back from GPU memory to CPU memory using
cuda.memcpy_dtoh, and the results can then be used in Python.
Summary
- PyCUDA enables running CUDA kernels (written in C) directly from Python.
- The
SourceModuleclass is used to compile the kernel code. - Memory allocation is done using
cuda.mem_alloc, and data is transferred between the host and device usingmemcpy_htod(Host to Device) andmemcpy_dtoh(Device to Host). - Kernels are executed by calling the compiled kernel function with specific grid and block configurations.
In your specific example, GraphTsetlinMachine.kernels likely contains CUDA kernel code for running Tsetlin Machine operations on the GPU, and PyCUDA is handling the compilation and execution of this code.
Source: Pirahansiah, F. “How PyCUDA Reads and Runs C Kernels”. pirahansiah.com, updated 2026-09-27. Canonical URL https://pirahansiah.com/farshid/content/note-pycuda/ · markdown source note-pycuda.md · how to cite, quote and link this site.